Your Cart is Empty

Did you know you can use essential oils to transfer prints from a laser printer or copier onto fabric, wood, or other materials? This easy method is a lot of fun and opens up many possibilities for personalized gifts with a really neat effect! We decided to try this method when decorating Easter eggs, and it worked pretty well!
![]()
As you can see in the above picture, the transfer works better on the light colored eggs. `The egg right behind the bottle also has an ink transfer on it (green and red), but the darker background makes it more difficult to see.
![]()
Start by gathering your materials. You will need an image, design, or text (about 1/2 inch to 2 inches in size works best for Easter eggs). Use a program like Microsoft Paint or Photoshop to lay out your words or design. For this process, dark, solid text and pictures work best, as the image will fade a bit during the transfer. This can lead to some really cool vintage or antiqued looks when finished but can appear too faded if you choose something with light colors or faint gradients. When you have the design looking how you want it, select the design, and use the program’s flip or rotate tools to flip the design horizontally so you have a mirror-image of the design. Print the design onto normal copier paper using a laser printer (or copy it on a toner-based copier). Note: Be certain your printer or copier uses toner. This method doesn’t work with inkjet or wax systems.
Other materials you will need include a hard-boiled egg, tape, a popsicle stick (or other hard, straight-edged object), a cotton swab, a small glass bowl (we used a shot glass), and orange essential oil.
![]()
Cut out your design, leaving a little room for the tape. Place your design where you want it (face down so the ink touches the egg), and tape it to the egg. Because the surface of the egg isn’t flat, you will need to pinch and cut the paper as needed to get the ink to lay as flat as possible against the egg. This part of the process is a lot easier when working with materials that can lay flat like wood or fabric.
![]()
Add a few drops of orange essential oil to your small glass bowl or shot glass. You only need a couple drops per design; so start with less, and add more as needed.
![]()
Dip the cotton swab in the essential oil, and rub the oil onto the back of your design. Your design will show through the paper as you rub the oil on.
![]()
Next, use the popsicle stick to rub completely over the back of the printed design. This presses the toner onto the egg, so you need to be fairly firm; but don’t press down so hard that you crack the egg or tear through the paper. Be certain to rub over all parts of the design. If you have a larger or more complicated design, you may want to apply oil over a small part of it, rub over that part to transfer it, and then move on to the next area to help prevent missing any part of the design.
![]()
Once you are certain that you have firmly rubbed over the entire design (you can always try peeking under the paper or do a second coat of oil and rub again if you aren’t sure), remove the paper, and see your result. If you missed an area, you may be able to re-position and tape the paper back to the egg and try again; but it is much easier to get it right the first time. Once it looks good, you can use a blow dryer to help the ink set. For the eggs, you can also just let the ink dry, but using a hot blow dryer really helps set the ink when you are doing an essential oil transfer on wood or fabric.
![]()
Time: 10–20 minutes active | Difficulty: Moderate
Comments will be approved before showing up.

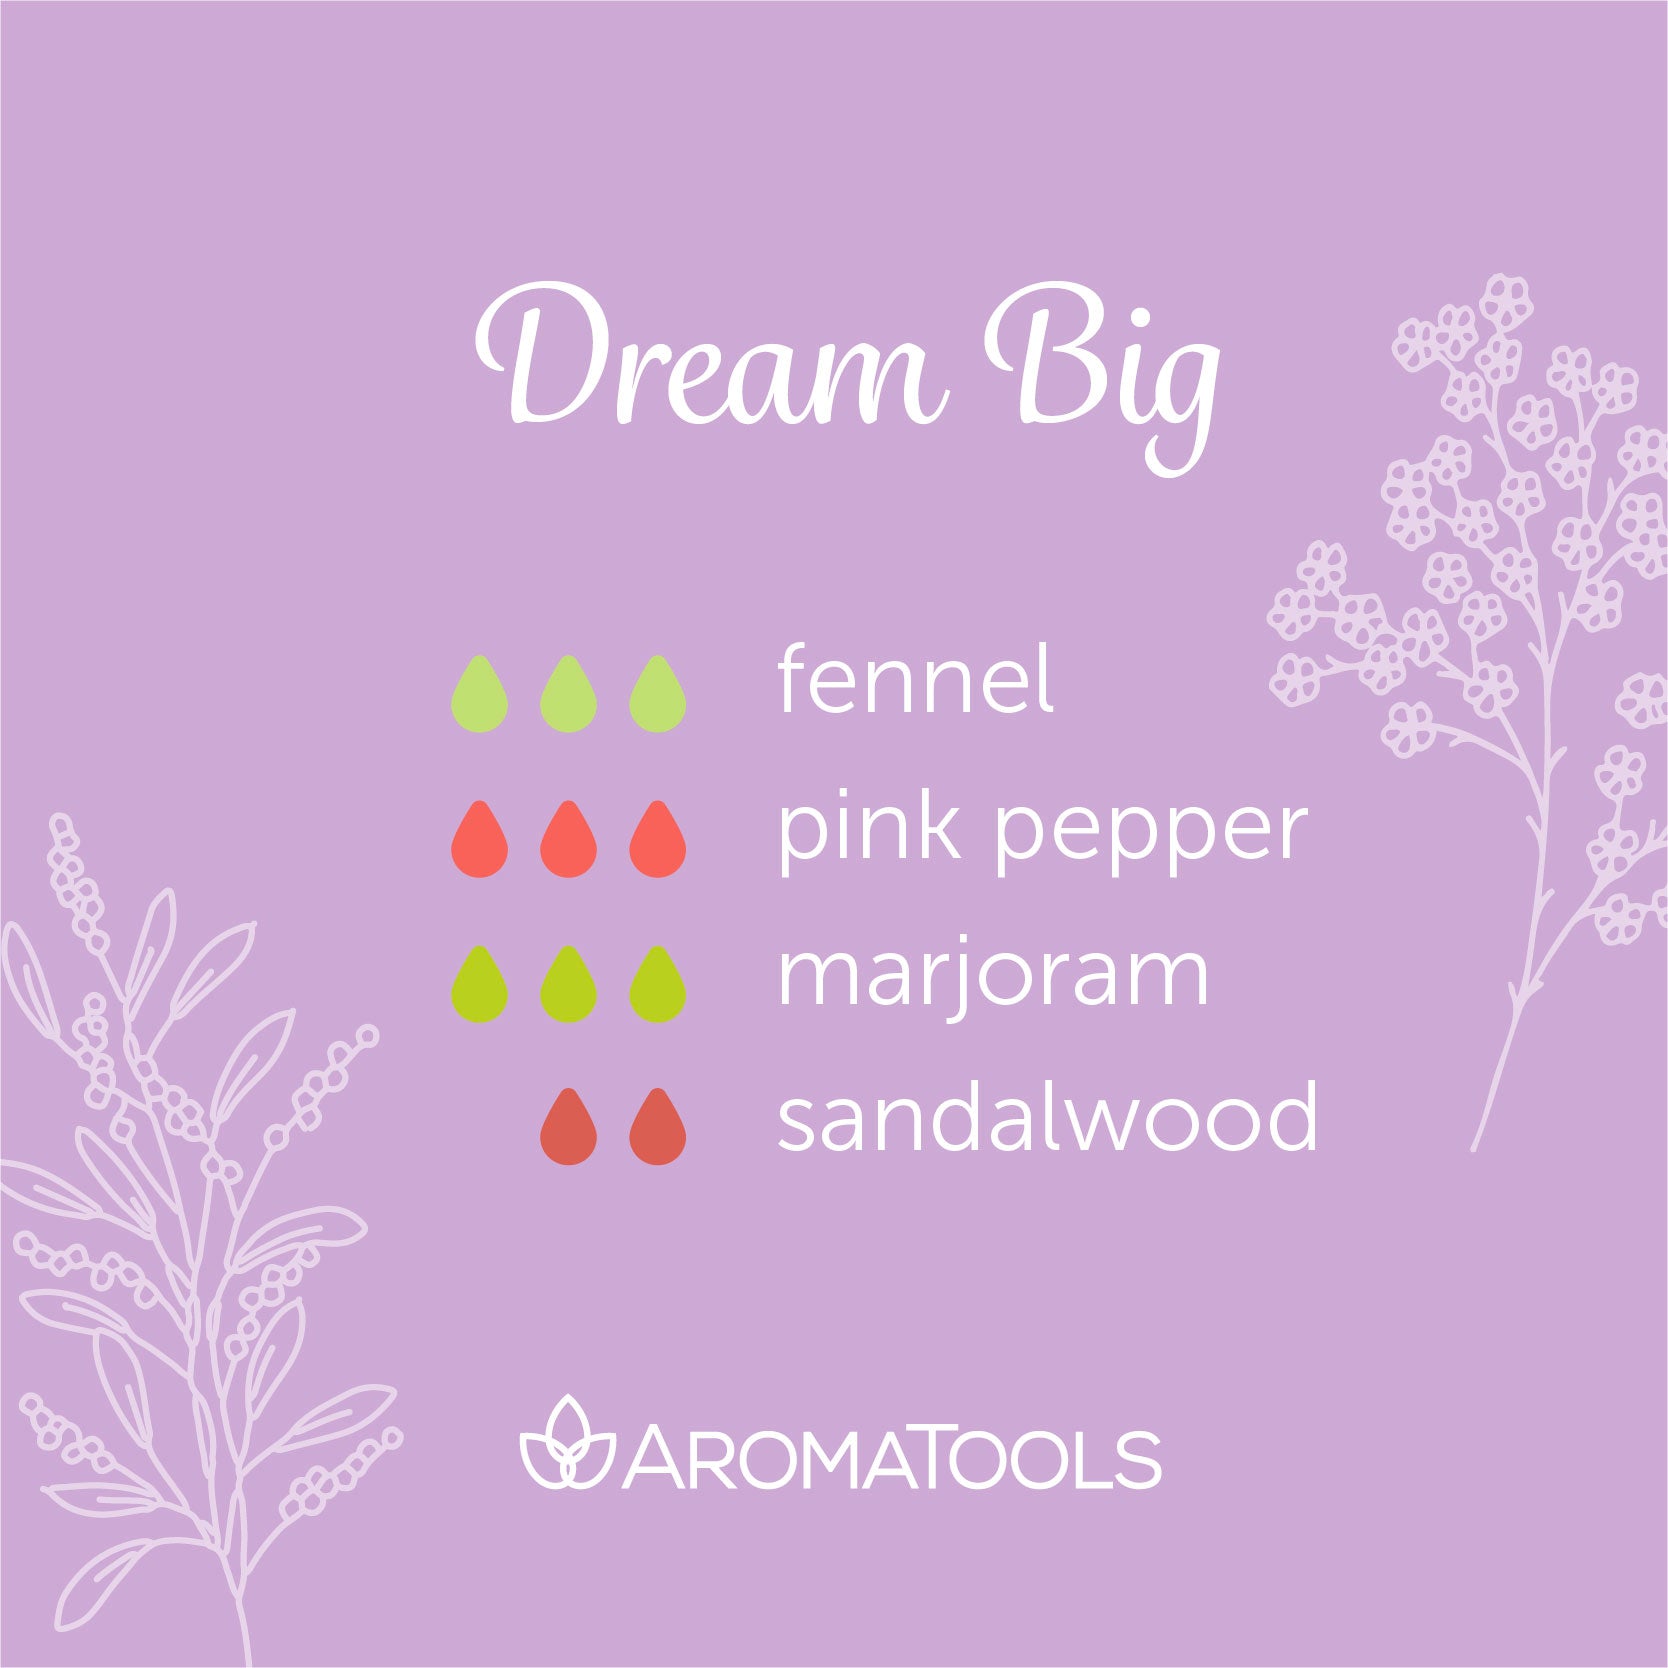
As you’ve been inspired by others’ success, you can more accurately see the next step in your upward journey. Confidently take that step! In this blend, fennel inspires courage to move forward. Pink pepper helps increase alertness and focus. Marjoram promotes patience and peace along the way. Sandalwood calms and balances the effects of the other oils.

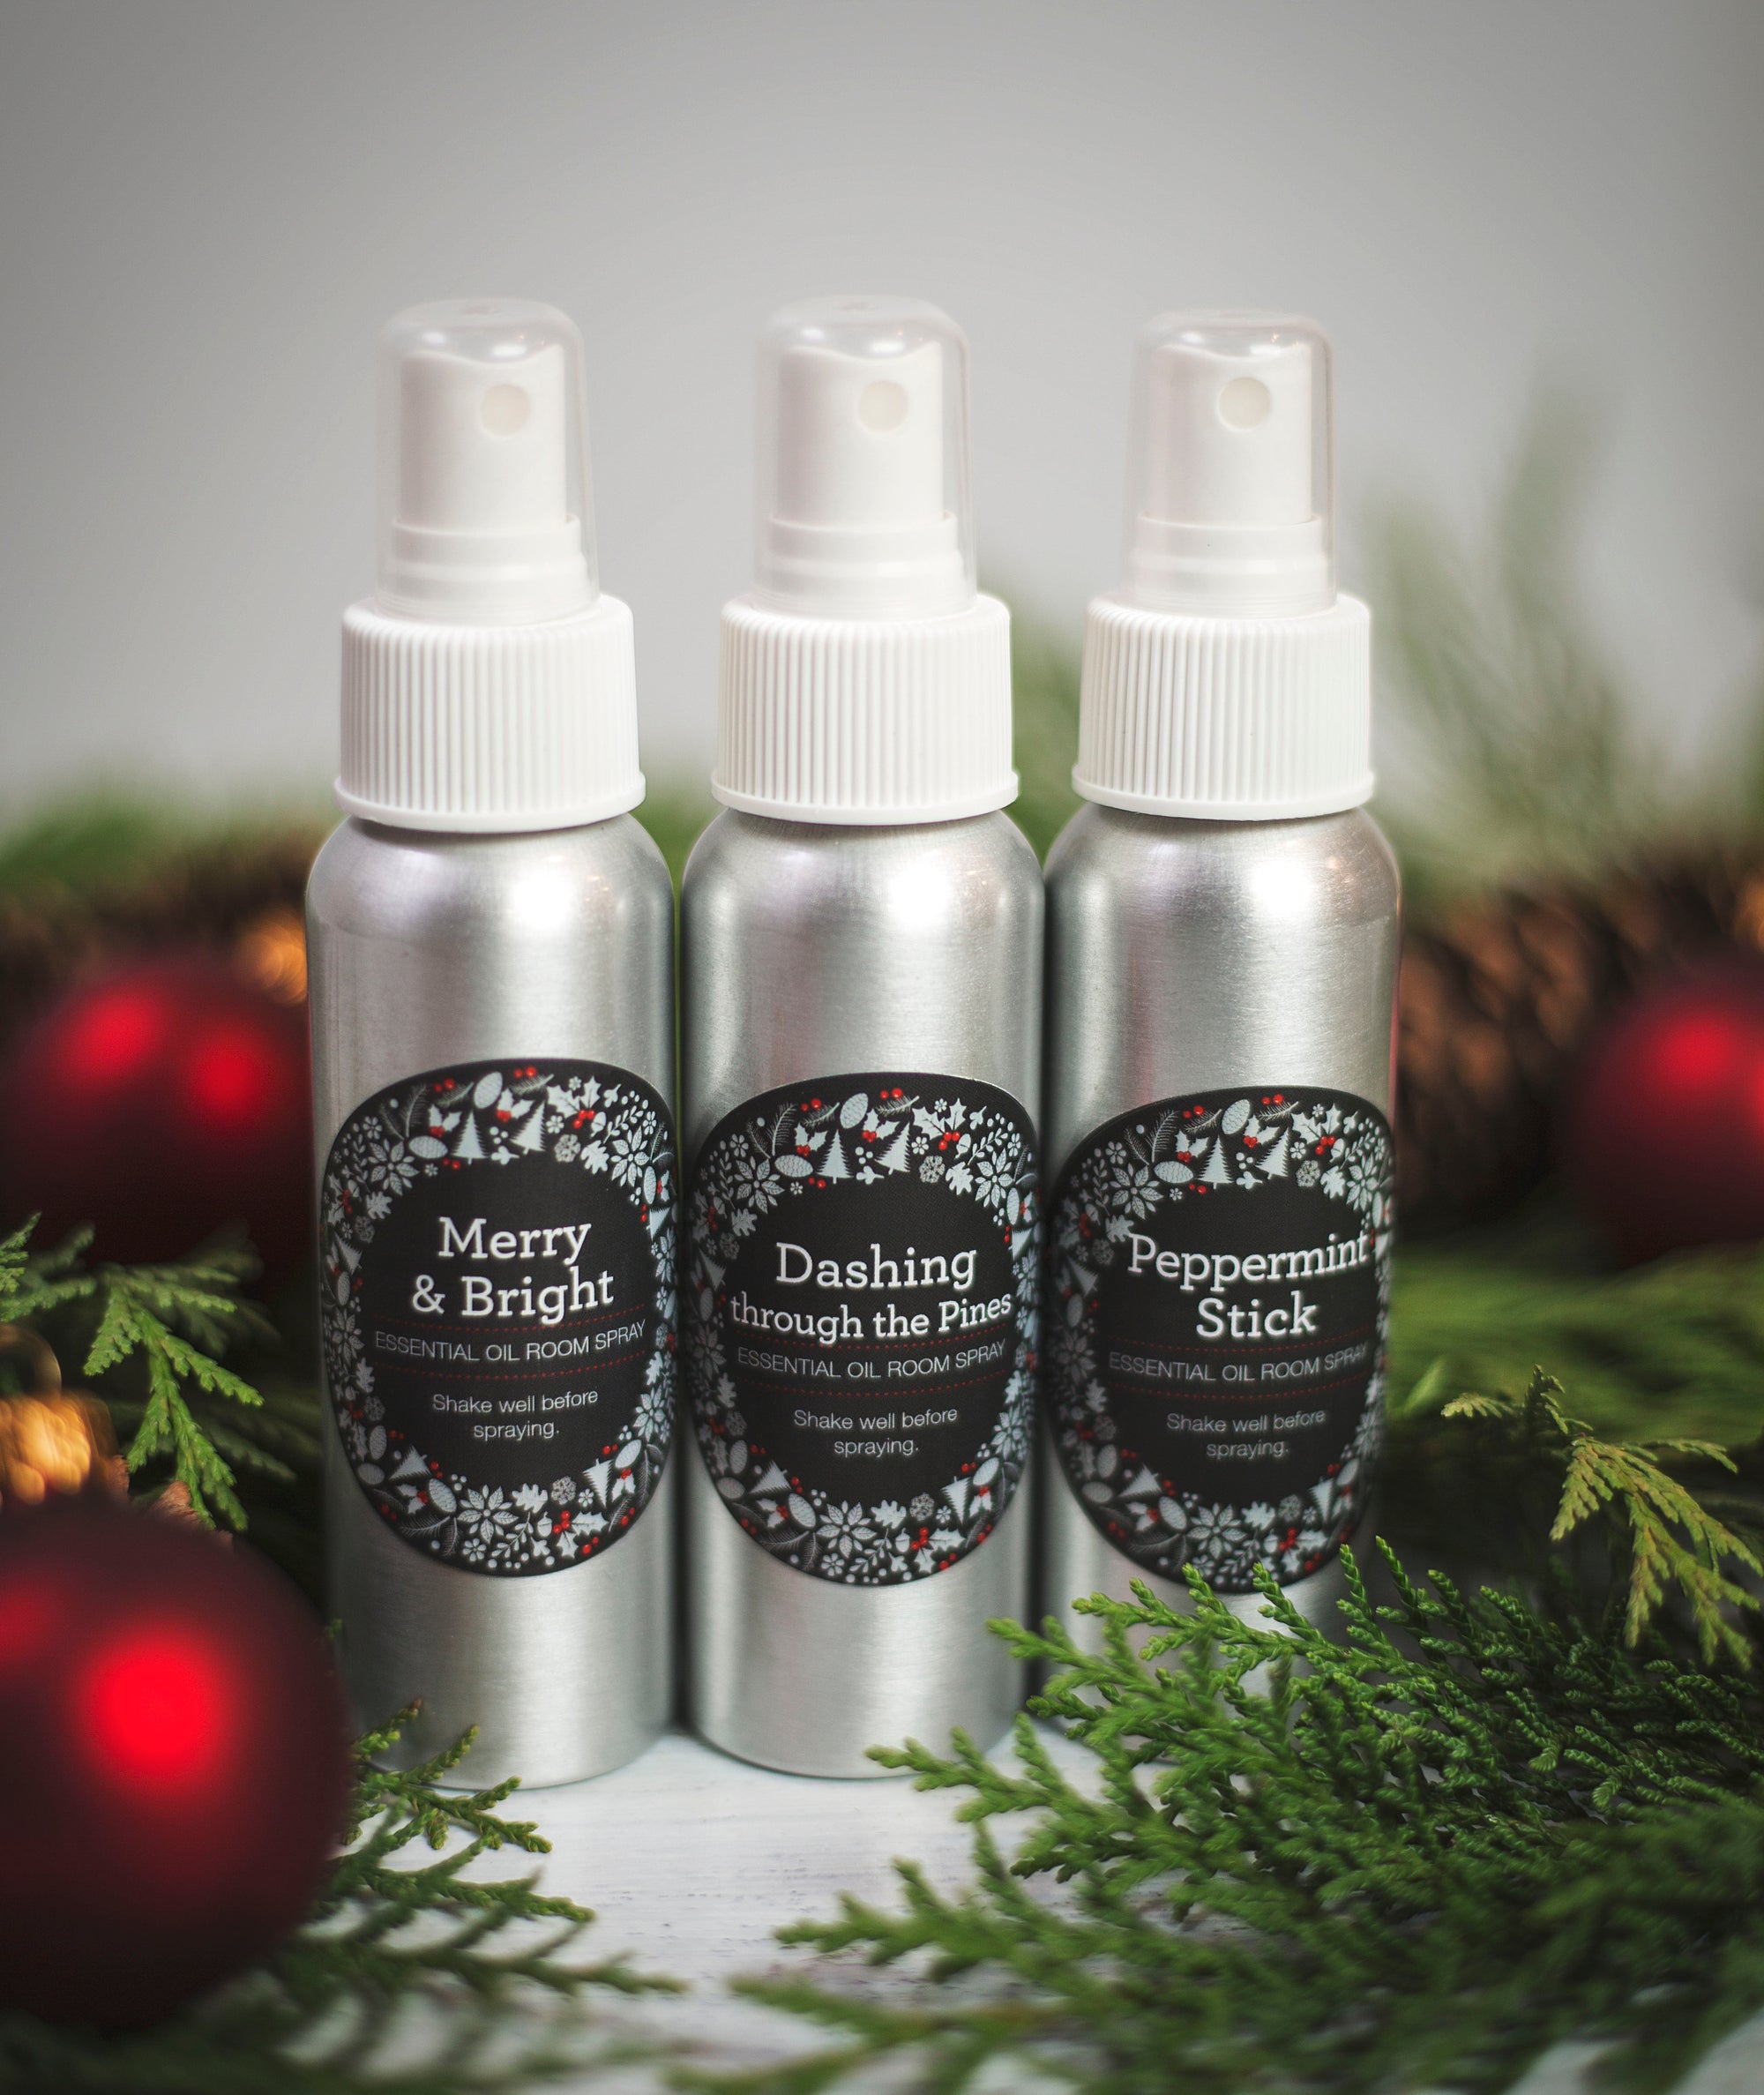
Looking for a DIY holiday gift that’s easy, affordable, and on trend? Look no further than the “12 Sprays of Christmas” labels. They come with a downloadable recipe sheet of the blends as one of our holiday gifts to you.

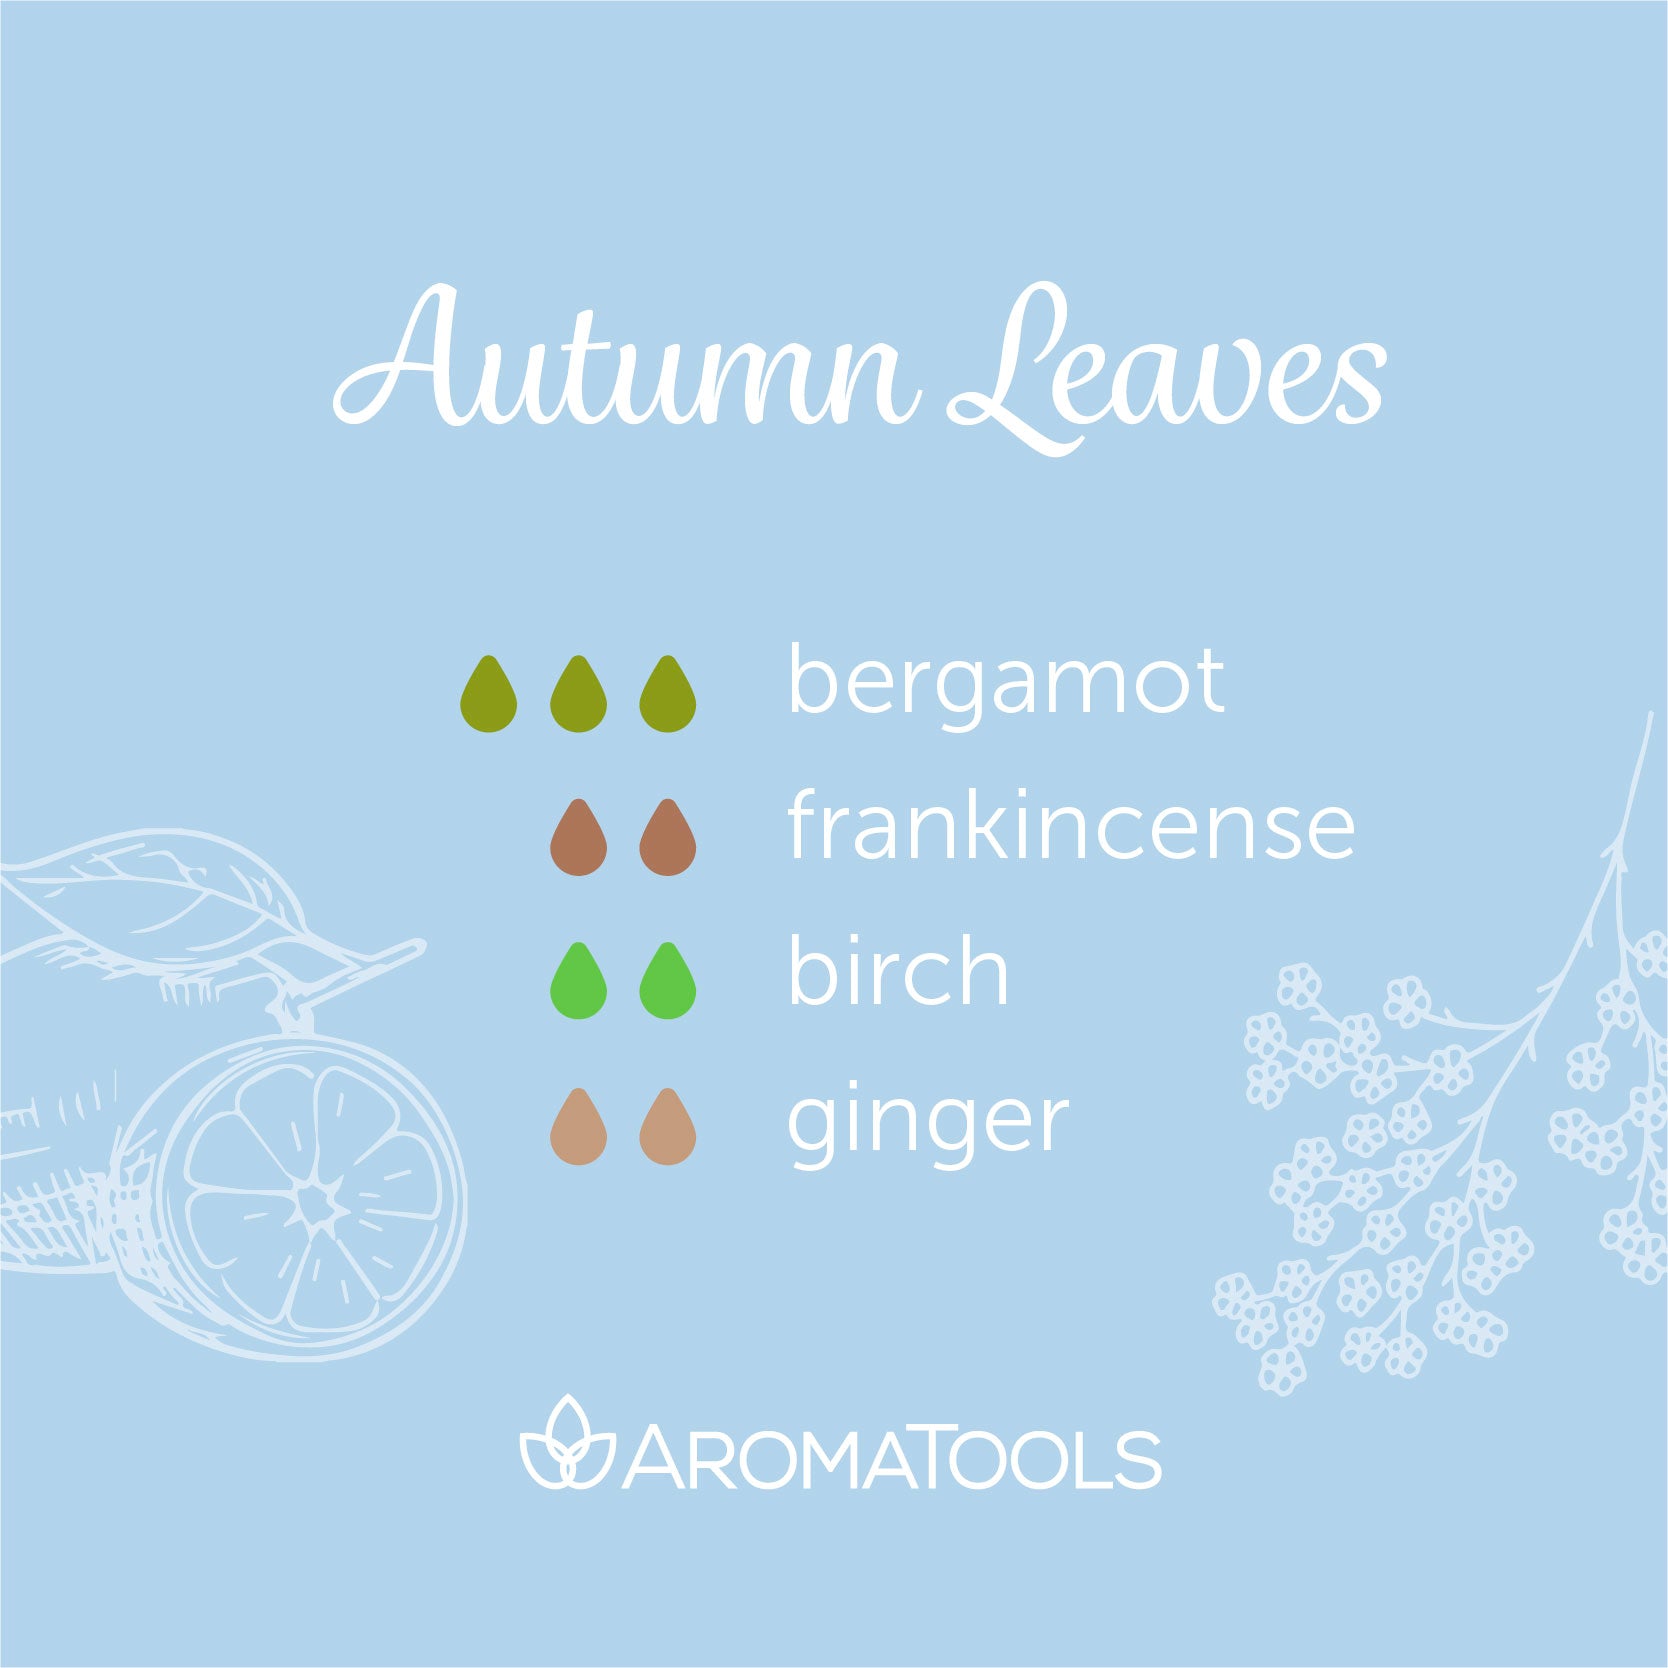
Looking for a warm, woodsy autumn blend for your diffuser? Autumn Leaves is a delightful way to welcome the new season! The fresh, sweet aromas of bergamot and ginger harmonize with the warm, rich touches of frankincense and ginger. Together, these essential oils promote energy and awareness and help relieve tension.